The virtuosity of hands
After hiding out for decades on wedding gowns, embroidery is mainstream again. At the mall, lavishly embroidered tunics draw shoppers into Johnny Was. Embroidered napkins set the table at Pottery Barn and embroidered birds circle lampshades at Anthropologie. For several years now, we’ve been buying embroidered espadrilles and sweaters, jean jackets and dresses, throw pillows and summer tops.
We’re not only buying embroidery; we’re making it. In the process, a new generation is discovering the calming effects of picking up a needle and thread. For those of us who traveled through the 1970s with baskets of crewel kits and Swedish cross-stitch patterns, it’s especially delightful. When we walk past twenty-something women in the aisles of Hobby Lobby, brows furrowed as they study bins of fluffy skeins, we just have to smile. We were their age when we discovered the same pleasures.
The needlecraft revival is also reassuring. Making something one thread at a time seems maddeningly slow—doesn’t that belong in a Jane Austen novel? Who has time for this? Can’t a quick visit to Instagram or Pinterest satisfy the creative urge?
Apparently not, even for young women. According to market researcher Pamela Danziger in a 2018 Forbes article, 18- to 34-year-olds are the largest category of crafters (41%), not Baby Boomers, as one might guess. One mega-retailer is paying attention: Joann. At a new concept store near its Ohio headquarters, shoppers can rent sewing machines, make friends, order fabric from the cut bar, and display their work for sale. With 849 retail stores, the company is looking to attract the meet-up generation in search of an authentic experience.
Needlework engages the mind, the body, and the senses, including smell (think of wool’s earthy scent), touch (silk threads—so luxurious!), and sight (stitches are guided by the eye). It also has a calming effect as threads are worked over and under, in and out. With Americans experiencing so much stress—from debt, political news, declining health, jobs, and kids—the needle arts are a soothing antidote. Our hands provide a mysterious bridge to our mental health.
Their capacities are staggering—think of the musician at the piano with a pencil between her teeth or a guitarist bent over her strings. Her hands find the keys or strings that explain an emotion, translating it into a song. I love thinking of the musicality in J.S. Bach’s hands, one of my favorite composers. He was the best organ player and harpsichordist of his time as well as a master of the violin, cello, bassoon, contrabass, oboe, and brass horns. Those hands! What he did with them! So much of what makes life rich wouldn’t exist without our hands—architects sketch new buildings and jewelers cut stones; artists sculpt and gardeners set plants in their proper places; bakers coax wheat into loaves and the farmer cuts grape clusters for crushing. What a gift God has given us, these wonderful appendages that channel our imaginations into reality.
The Bible says we’re made in the image of God, which is a mystery when you consider that God is a spirit. Yet his hands are often mentioned in the Bible. “My hand laid the foundation of the earth, and my right hand spread out the heavens,” he says in Isaiah. God’s children are the works of his hands, as are the nations who war against them.
Hands … let’s not stop until we’ve taken a good look at them: 27 bones in each and even more muscles, alive and moving by joints, ligaments, tendons, blood, and nerves. Should we delve into the science of how a hand can feel a feather on the palm, a feverish forehead, or cold snow on the windshield, or how it can grip a kayak’s oar yet guide the smallest movement of a needle? Shall we consider how hands fish out keys in the bottom of a purse, hold a baby close, button the top button, push hair into a clip, or wave goodbye? Or that they open doors, mark papers, and transfer thoughts to a keyboard? Or that they test an avocado for firmness, slice apples, or shape a piecrust? That they know wet from dry, and by weight, real gold from plated silver?
No, for this would take years to understand. Instead, let’s simply take a good look at them and give thanks. God has endowed us with a made-in-his-image gift for loving, giving, and creating. They illustrate who we are to those around us. They enable us to explore our gifts and talents. And engaged in a game of tennis or Scrabble, a massage or a Bach cantata, they reduce our stress.
And they’re just right for an evening of embroidery in our favorite chair.
Now Make Something!
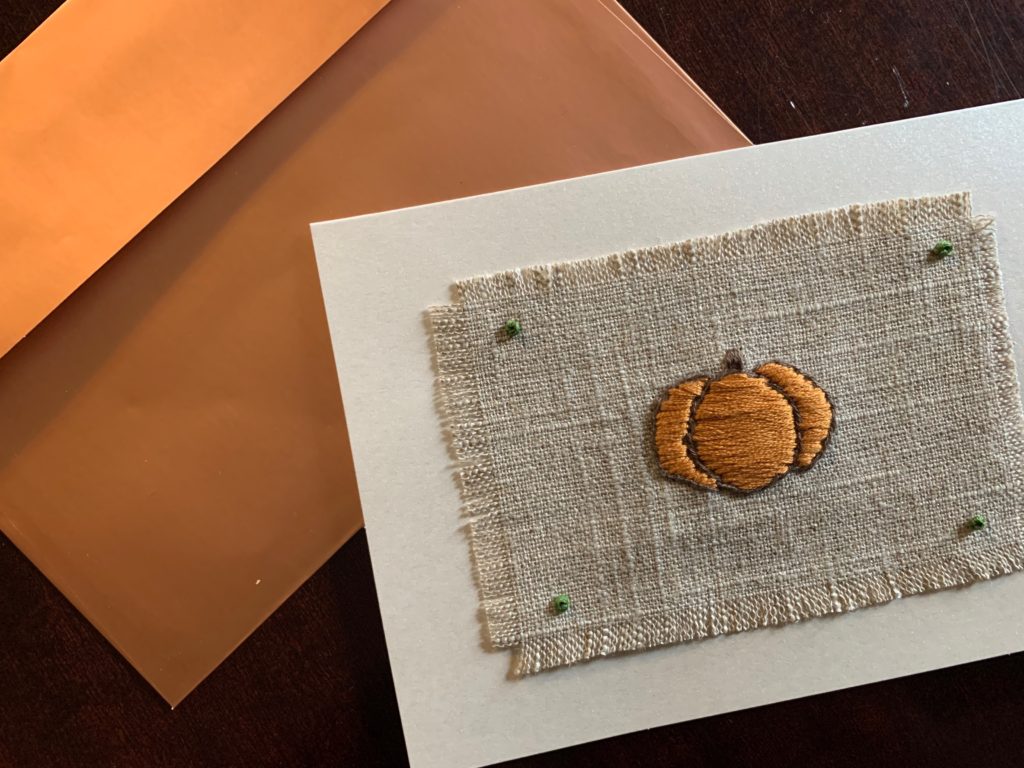
Try this embroidered card project–it’s easy and fun! If you’ve never embroidered, this will get you started. With Thanksgiving coming up, you can send this pumpkin card to someone you’ll miss seeing this year. They’ll be thrilled! The steps are summarized at the end with photos.
Supplies
Blank greeting card and envelope
Fabric scrap, about the size of a sheet of paper
Embroidery needle
Embroidery floss, one color for outline and another for filler
Embroidery hoop
Quarter
Pencil
Mini brads, glue and buttons, or a third color of embroidery floss
Notes on Supplies
Fabric: A scrap of linen or cotton will do, but if you want new, ask for an eighth of a yard at a fabric or crafts store.
Embroidery needle: These needles have a bigger eye than the normal needle because embroidery thread is thicker than sewing thread. Any crafts store should have them.
Embroidery floss: I’m partial to DMC, a French brand, and it’s widely available. It has six strands twisted loosely together to make one thread. Needle workers separate the strands to get various effects, but for this project you’ll use all six.
Embroidery hoop: A “hoop” is actually two wooden circles; one fits inside the other. The outer one has a screw clamp for tightening and the inner one is plain. They come in various sizes, usually marked by even inches beginning at 4”. You want one that is smaller than your fabric, 4” or 6”.
Instructions
Your completed embroidery will be 3.5” high x 5” wide to fit the 5” x 7” foldover card in the photograph.
Cut a square of fabric bigger than your hoop.
Before drawing the pumpkin, practice a time or two on a piece of paper.
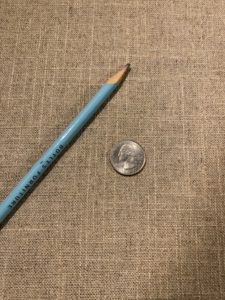
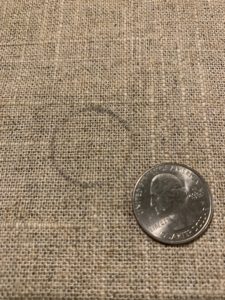
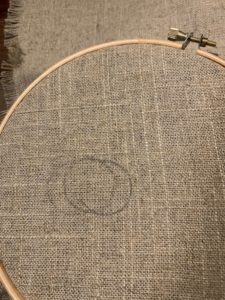
Draw the pumpkin. Put a quarter in the middle of the fabric’s right side and draw a circle around it with a pencil. You can use a water-soluble marker or a dressmaker’s marker, but a pencil will work just fine. (You’ll stitch over the lines, so they won’t show.) Enlarge your pumpkin by drawing a crescent moon on each side. You do this by moving the quarter right and then left, tracing just the side. If you don’t want to wing it, mark the middle of the circle in thirds with short vertical lines. To draw the right moon, set the left edge of the quarter on the left line and trace the right side of the quarter. For the left moon, set the right edge of your quarter on the right line and trace the quarter’s left side.
Put the fabric in the embroidery hoop with the drawing in the middle. To do this, separate the hoop’s two circles. Set the plain circle on a table and center your fabric on it, right side up. Now take the outer circle and unscrew the clamp enough to expand the circle to fit over the fabric-covered circle. Press it down over the fabric-covered circle so that the two line up with the fabric between them. The fabric should be taut. Tighten the outer circle.
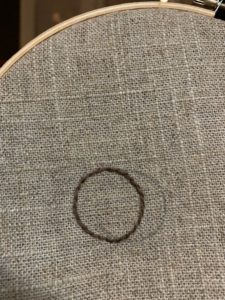
Embroider the outline. Take the skein of thread and look for a cut end, then gently pull out two loops, about 20”. Thread the needle—I like to use a needle threader, but if you’re patient, you don’t need one. Once the needle is threaded, knot the end of the thread. Professional embroiderers do not knot their threads, but you and I are not professionals, so tie that knot! You can learn later how to start a thread like a professional. To learn a basic knot for hand sewing, go here to “How to Tie a Knot in Thread” on YouTube posted by easysewingforbeginners.com.
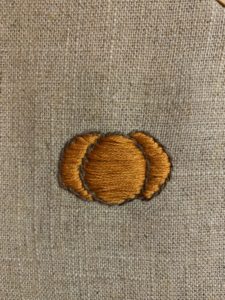
Now poke your needle in the back of your fabric so that it comes out the front at the tip of one of the crescent moons. Pull it through and stem stitch the lines. Mary Corbet’s YouTube video, “Stem Stitch,” will show you how to do this easy stitch. She’s a pro and she’s right-handed; I’m left-handed, which is why I’m not going to attempt to explain this backwards. By the way, she turns corners in this instructional video, which you won’t, so you only need to watch the first two minutes. For the pumpkin stem, add three stitches at the top, side-by-side.
Next, fill in the pumpkin with satin stitch. The British thread company Coats has a good satin stitch tutorial on YouTube; look it up under “Make it Coats.” On their channel, go to the search bar and enter “Learn How to Satin Stitch” for a one-minute tutorial.
Now you’re done! You just need to finish the edges and attach it to the card.
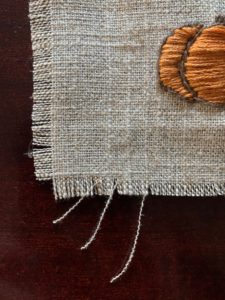
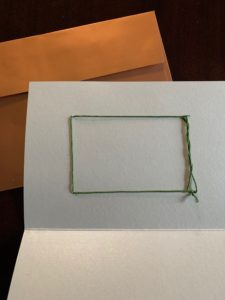
Take the fabric out of the hoop and cut out the pumpkin so that it’s in the center of a 3.5” x 5” rectangle. A standard note card is 3” x 5”, so you can use this to mark the fabric, adding a quarter inch at the top and bottom. Fray the edges (YouTube again: Colleen Lea on FSBTV). Attach the square to a card with mini brads, a glue gun and buttons (to hide the glue), or with French knots. Done!
